Night Photography
How to Capture the Magic and Mystery
But before how, let's talk about why.
Why take night photos? While they're not difficult, they can be a challenge. Photography by definition is writing with light, and at night...well, you get the picture.
When we spoke to pro shooter, Nikon School instructor and night photography enthusiast/advocate Reed Hoffmann, we asked him to share some tips for best results, but we first asked him, "Why night photography? What's the big fascination?"
"Partly for the challenge," he says, "but also because not many people do it. Everybody shoots pictures during the day; it gets dark and they stop, or they turn on their flash units." And when you're taking pictures that most people don't take, your photos might be a bit more interesting, dramatic, even mysterious attention-getting images. "Night photography is not a question of getting a picture in low light," Reed adds. "In night photography you're trying to do something special."
Reed's final comment on the "why" of night photography involves the very nature of photography itself. "We teach in our [Nikon School] programs that one thing you want to do in your photography is play to the strengths of how cameras see the world in ways that are different from how humans see it. Pick up a camera at night and because you can do long exposures, you'll see the world in a way you never see it other than in pictures."
And now, how.
First, a Tripod
When there's only a little light, you call on every method possible to make the most of it, and using a tripod is first on the possible list. "You're almost always going to need a tripod," Reed says, "especially for creating selective blur with slow shutter speeds—like moving lights writing their magic lines and shapes." And even with a tripod, to prevent even the slight vibration his finger on the shutter release might cause, Reed often uses the camera's self-timer or a cable release to trip the shutter. "And," he adds, "when you're using a tripod, make sure the VR function of your lens is turned off."
ISO Boost
No tripod available? Then take advantage of the fact that most Nikon D-SLRs will allow us, in Reed's words, "to shoot at ridiculously high ISOs and get very good-looking pictures...even astounding results. Boosting ISO is a valid way to go." (An ISO-related tip for scenes involving the night sky: setting shorter exposures at higher ISOs will prevent star trails in the photo.)
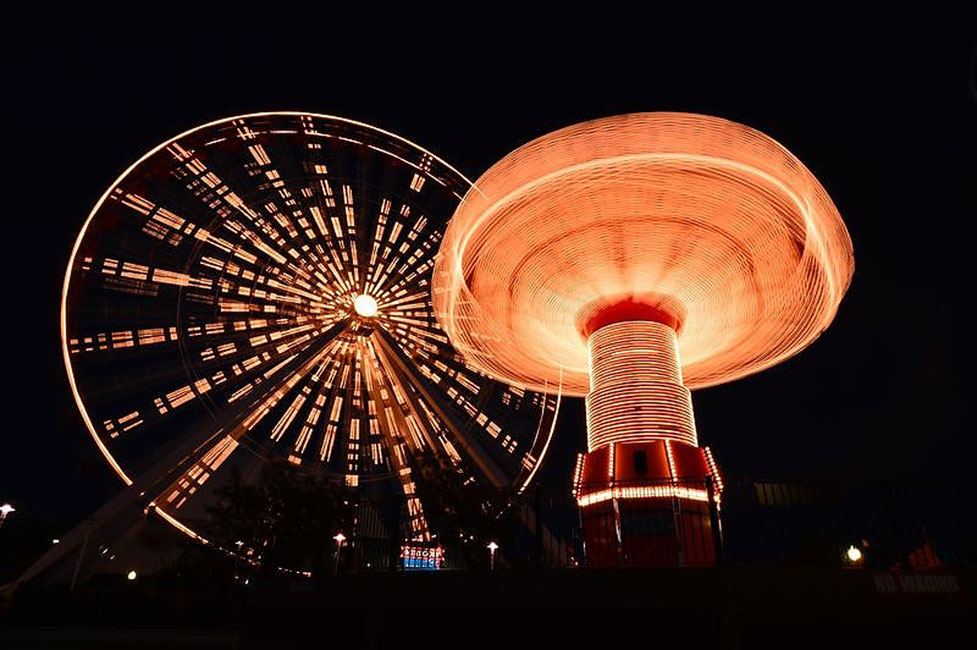
Long Exposures
if you're going to pursue night photography, sooner or later you're going to want to do tripod-mounted long exposures, if only to see what they'll look like. Slow shutter speeds will let in more light, but they'll do more than that: as the shutter speed slows and the exposure lengthens, the magic happens as you capture what the eye can't see.
Autofocus Control
Reed recommends turning off autofocus once focus is achieved. "Once you've got focus, you're probably going to shoot more than one picture, and if you leave the AF on for long exposures or time exposures and hit the self-timer, the camera's going to search for focus before it shoots. Quite often there's something in the scene that's got some brightness to it, and if you move an AF sensor to that area, you can focus on it; then just switch off the AF on the lens barrel." If you start your night photography before it's truly dark, frame up what you want to capture and use AF to get it sharp; then turn off the AF and wait for the light to fade away. "Night photography is a reminder that we can turn off the automatic systems in the camera when we want to or need to," Reed says.
Exposure Methods
Reed's standard exposure mode is aperture priority, and he often uses it for night photography as well as daylight shooting. "But I use exposure compensation a lot because the meter doesn't know the scene in front of me, or know what I care most about in that scene. Matrix metering gets me really close, but exposure compensation lets me dial in the exposure just where I want it." He bases his exposure compensation settings on his experience of what a scene calls for, and he can adjust the settings once he's checked his images on the LCD. But if something is happening quickly, he'll likely hold the plus/minus exposure comp button down and do a three-frame bracket. "Setting exposure in automatic mode is like adding salt and pepper as you're cooking and then tasting to see how things are going," he says. "A little exposure comp is going to get it right where you want it."
White Balance
Reed's basic advice is try 'em all and see what suits your style and preference. "Auto white balance will tend toward more warmth for yellow and orange lights in a scene. If you've got artificial light, a good starting point is either the incandescent or fluorescent setting. If you're not happy with how they look, try the other settings." However, he does caution that while you can get creative with white balance by using it to shift colors, "you always want a picture that has a sense of believability to it. You don't want people's reaction to be, 'Holy cow, what did he do to that picture?' "
Additional Tools
A look at the LCD tells Reed very quickly whether he's over- or underexposed, but it's the Highlights display option (accessible through the camera's Playback menu) that clues him in to what's going on in the highlight areas of his night images. Overexposed areas of the photo will flash (many photographers call those flashing highlights the "blinkies"), but the flashing is not necessarily an indication that bad things are happening. "You often want small, brightly lit areas of a night shot to be overexposed; expose for them and the rest of the scene can go unacceptably dark," Reed says.
Many of the settings you choose will be based on personal preferences discovered through experimentation; at a certain point, it's a trial-and-error world out there at night.
Those are the basics that will get you started on night photography. And even though we've talked mostly about Nikon D-SLRs, if your Nikon digital camera is a COOLPIX or a Nikon 1, just set its controls to manual and join the night stalkers. As we've suggested, many of the settings you choose will be based on personal preferences discovered through experimentation; at a certain point, it's a trial-and-error world out there at night.
Reed makes it a point to talk about night photography during Nikon School sessions. "Usually I take some time at the end of the second day to talk about topics like time lapse, intervalometer, light painting, bad-weather shooting and night photography. I tell the class that they're 'cool things you can do that most of you probably haven't,' and they're sort of a challenge to go further in a specific creative direction. And that challenge is a great way to finish the program."
And not a bad way for us to end our story
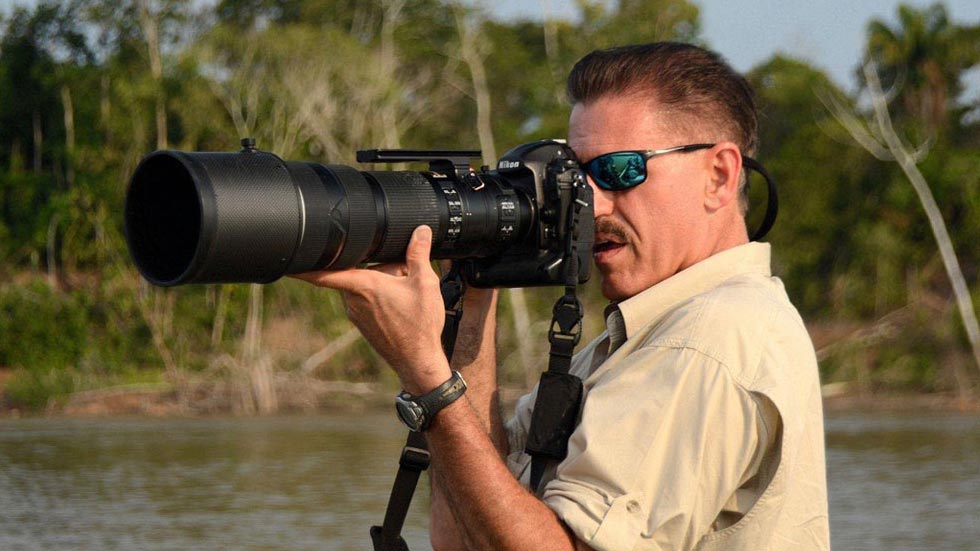
Reed Hoffmann
Over 25 years ago, Reed started in studios, then worked at newspapers, and now freelances out of Kansas City. He has been shooting digital since 1996 and teaching digital photography since 2000. Nationally recognized as an expert on digital photography, Reed has helped over 30 U.S. and Asian news organizations ease their transition to digital.
More articles by this contributor