Top Gear Selections For DSLR Video Beginners
As a photographer, you’ve probably heard comments from peers about how more publishers are requesting their staffers to now also include video footage in their deliverables—not just still photographs. Or perhaps you’re hearing more about wedding and event photographers adding video as an additional studio service?
Chances are, with all the talk about DSLR video production, your interest is gaining. But knowing how to start, let alone what gear to add to your gear bag, may be a sticking point for you.
Where to Start
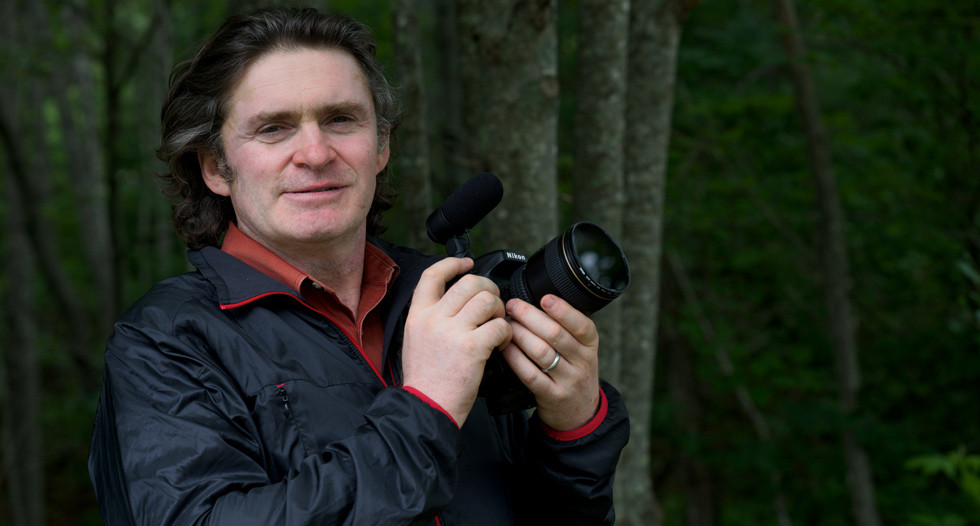
David Wright is a 20-year Nikon camera veteran and Emmy Award-winning filmmaker. Working as a regular contributor in the roles of cameraman and producer for National Geographic television and the BBC, his work has taken him around the globe to film both wildlife and human interest stories. David employs the latest imaging technologies, including high-speed HD and ultra high-definition cameras, plus gyro-stabilized units for filming from helicopters.
David started out as a stills photographer but was soon well on his way as a cinematographer. At the age of 21, David was offered a job as an apprentice cameraman at world-renowned documentary production company Oxford Scientific Films. He was a regular contributor to their stock library. Through his work, David quickly mastered the craft of shooting television documentaries, and within two years become a cinematographer working for major broadcast clients.
“I learnt the trade using 16mm and 35mm film cameras,” he shares. “Today we shoot using the latest high definition (HD) cinema cameras that capture exclusively in video.” While the majority of his work is motion, David keeps a Nikon camera by his side to capture stills, time-lapses for his television productions, and for the camera’s video capabilities for which he applies to both personal and professional projects.
Adapting Cinematography Techniques
David recently led a workshop specifically for photojournalists that focused on best practices for DSLR video shoots. Preparation for this workshop made him consider the lessons he has learned as a cinematographer, and how best to adapt those techniques when shooting video with his latest camera, a Nikon D800.
Single lens reflex cameras (SLRs) have a long design history with a primary objective to capture still images, not motion work. David tactfully points out that shooting video with a D-SLR camera requires a different way of working the device, and that this process can be at odds with how a still photographer works. He further adds that producing video requires gear not likely found in a traditional photographer’s bag.
A Look Inside National Geographic Cinematographer/Producer David Wright’s Bag
In David’s own words, read more about his choice of gear, plus a few valuable lessons he’s picked up while on the job. These are all things you may wish to consider for your own video workflow.
Mic Check
The unsung hero of every video shoot is the sound-recordist. Whether shooting live action, an interview or other subjects in-between, I am often reminded that great capture with bad audio is unusable. On the other hand, good audio, even if accompanied by inferior imagery, is almost always useful; if your visual capture was not up to snuff you can usually shoot it again!
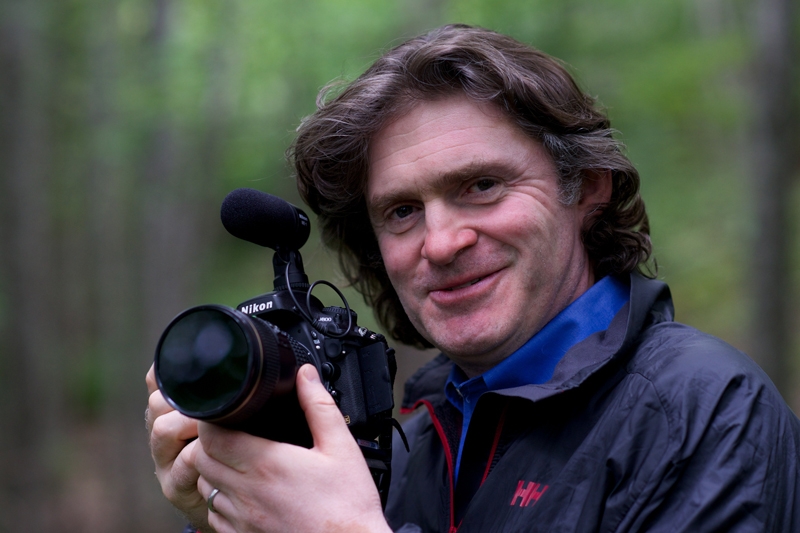
Lesson number one for your DSLR video shoot: use a good microphone. Compact and well designed for the job, I’m convinced the Nikon ME-1 is a great way to equip your camera for DSLR video work. The ME-1 has impressive specifications and is compact. It is powerful and will pick-up the smallest of sounds. Unfortunately even the sound of your hands operating the camera will be captured; this is known as “handling noise.” I like that the ME-1 has a built-in shock mount that assists in reducing this problem. Adding an ME-1 is an important component to consider as you start building-out your DSLR videography bag.
Also consider an add-on for improved sound—some sort of wind protection to shield the microphone. If you venture out into the wilds to shoot you’ll benefit from a windjammer (windscreen).
Great capture with bad audio is unusable… on the other hand, good audio, even if accompanied by inferior imagery, is almost always useful

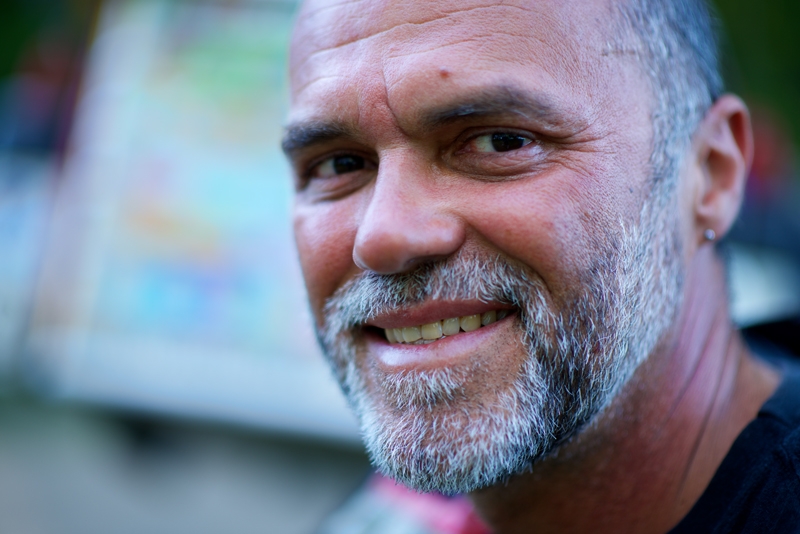
Capture different crops in camera without compromising output quality by using the DX crop mode (or 2.7x crop mode if available)—this will give you flexibility in editing the video together.
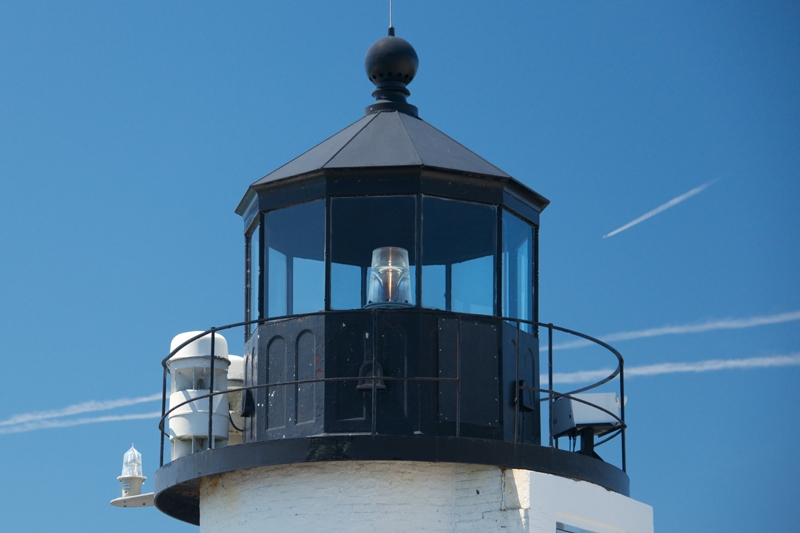
The DX crop allowed the photographer to get a tighter view from the same scene.
Choices, Choices: Magnification and Camera Angle
Unlike shooting photo stills and the “decisive moment,” filmmaking requires you to capture a series of moving images that best narrate an unfolding story or sequence. Sounds obvious, but understanding this key concept—both in terms of obtaining the shots that best piece together the story plus incorporation of the best lens(es)—can make or break your effort.
I recommend watching a small part of a favorite movie… turn down the sound and pay attention to how the shots were produced
To better understand the concept of shooting a sequence, I recommend watching a small part of a favorite movie. When you watch, turn down the sound and pay attention to how the shots were produced, how the film flows from one frame to the next, and how long each frame runs. You’ll likely start noticing that the editor is using rather basic techniques.
The two most important techniques are: changing magnification or size of subject and camera angle. Shoot with these notions in mind and you’ll give yourself ample editing options once you’re prepping the footage. During the edit, cutting between shots will be easier and you can pace your finished sequence in any way you choose. If someone else is cutting for you, creating more choices by following these techniques will make you a popular cameraman!
Three Favorite Lenses
I rotate between three favorite NIKKOR lenses when shooting DSLR video:
AF-S Zoom-NIKKOR 17-35mm f/2.8D ED-IF
This lens is ideal when hand holding the camera or using a monopod. The 17-35mm lens allows you to establish the scene with a great wide angle view. This lens is also more forgiving of camera shake—something far more noticeable than when taking stills. With stills you’re concerned about holding a camera steady for a brief moment in time. With video you may need to hold the camera still for several minutes.
For example, if you like shooting candid street shots and want to blend in with the background by not using a tripod, the wide angle is a great way to go. Plus, with a f/2.8 lens you’ll get great capture in low light.
AF-S NIKKOR 24-120mm f/4G ED VR
One photographer at a recent workshop referred to this as the ‘Swiss army knife’ of his preferred lens selections when traveling. The 24-120mm f/4G is fast enough to work well in low light, and it has a range that enables the different shot size requirements mentioned above that go into constructing a solid sequence.
As a tip, I like to start a sequence with a wide establishing shot (24mm). I then move in for a medium shot (50mm). And finally, I go to close-up (120mm). Of course you can also achieve the three different focal lengths by moving the camera closer to the subject, but for ease and speed this lens handles all the footwork.
AF-S NIKKOR 28-300mm f/3.5-5.6G ED VR
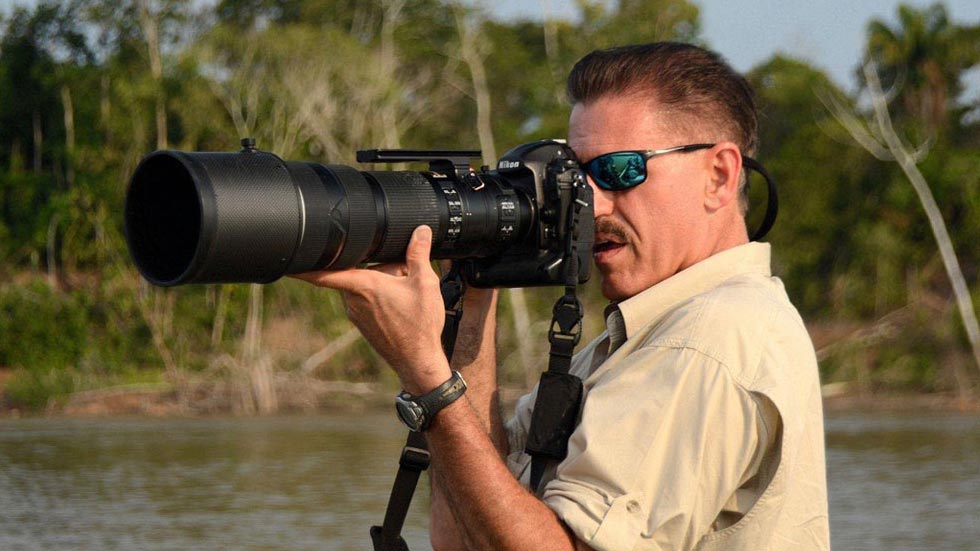
When I need to travel light, this is the lens I tend to use most. Its compact size and amazing zoom range permit me to quickly capture a wide range of shot sizes; I don’t miss any action by relocating the camera. At the long end of its zoom capability this lens is best paired with a tripod. The results are astounding.
Cinematic Sensor Size
Of course one of the big attractions for using an DSLR for video is the large sensor size—and the resulting shallow depth of field it yields. You bring a great look to your footage, and the technology allows improved separation of subject from background.
As a tip, for occasions where even more distinct separation of subject from the background is desired, I suggest a prime lens with fast aperture. The AF-S NIKKOR 85mm f/1.4G is great for recording interviews or when you wish to shoot a portrait photograph.
Techniques to Imitate a Filmic Look
Another joy of using an DSLR to shoot video, compared to cameras with smaller sensors, is the ability to recreate that filmic look I saw from my trusty old 16mm and 35mm film cameras. To achieve the look, I mimic some of the older camera settings, which means either using a frame rate of 24 fps or 25 fps (depending on whether you are in an NTSC or PAL country; the USA uses NTSC).
Want to make the most of this look? Calculate your exposure time as if it were the 180-degree spinning shutter in the film camera. In other words, a 1/50 sec. exposure should be used when shooting at 25 fps. This allows just the right amount of motion capture in the image to yield a smooth and pleasant playback because it mimics the way the human eye sees things in motion. In other words, with just enough blur.
To maintain that shallow depth of field in your video work, not only should you shoot at 1/50 sec., but also set a large aperture (set between f/1.4 and f/4 depending on the lens you are using). The challenge here is that, particularly in bright situations, you can’t help but be overexposed.
Combat overexposure by using a variable neutral density (ND) filter. The filter knocks back exposure by two stops, and you can dial it down by as much as nine stops. I recommend not pushing too far; the corners of the image will start to become dark and you may see a slight color shift. The variable ND also provides the ability to smoothly adjust the amount of light entering the lens while you shoot.
ND Filter Makes For a Smooth Operator
An interesting point about a “traditional” cinema lens is that the aperture ring does not have click stops. Most new photography lenses don’t have an aperture ring; all adjustments are made via a dial on the camera body.
The cinema lens aperture ring is great because you can make adjustments without the viewer becoming aware of the change. I frequently run into a situation where I am hand-holding the camera and walking behind a subject; for example, when filming the person as he or she moves from indoors to outdoors. For continuous footage in this scenario you’d have to reduce exposure on-the-fly by stopping down the lens.
The solution? Use that filter for easy on-the-fly exposure control. Practice with the variable ND filter and gain expertise in maintaining correct exposure by merely spinning the front element. With practice you can take the motion of your subject, combined with your own movement, to hide in-camera adjustments. No one will even be aware that changes have been made.
My second camera is a D600—for this camera the aperture locks once I hit the record button in Video Mode. I’ve learned that by setting the lens and ND filter to the right combination I am more precise in adjusting exposure. I can let more light in or decrease the light during a shot—and I do not have to restart the camera.
External Monitor Gives a Second Look
One of the most important things I have to remember, after years of working with traditional movie cameras, is that DSLRs don’t have a viewfinder that can be oriented to different angles. For my work I often need to look down into a finder instead of the backside of a camera where the LCD screen is. My solution is to add an external electronic viewfinder. These monitors provide extra features such as focus assist modes, histograms for checking exposure and much more. These added tools will likely help boost your confidence in what you are capturing.
Two Last Best Bets
Two last items in my kit, that have not changed much since my film days, include a good fluid head and a sturdy set of tripod legs. The tripod is not only essential for steady telephoto shots, but the better the head, the smoother the movement during video pan or tilt. There are a lot of brands on the market, but my choice for best build quality, design and price is the Miller range of products. For times when I am on foot and/or need to keep a low profile, I’ll also carry a monopod to help steady the capture.
Ultimately, what you end up adding to your videography bag will be dictated by what you shoot and what you prefer. My work takes me all around the planet. I capture everything from animals to people to nature. I shoot in all ranges of light and environmental conditions. So for me, my personal favorites include:
-
Nikon D800 and D600 bodies
-
NIKKOR 17-35mm zoom
-
NIKKOR 28-300mm zoom
-
NIKKOR 85mm f/1.4mm prime
-
Plenty of spare batteries and memory cards
-
A variable ND filter
-
External electronic viewfinder (EVF)
-
A good tripod and monopod
You have an amazing DSLR video tool in your hands. To ease into motion, consider the video-making capability of your Nikon DSLR combined with time-lapse image capture in stills mode. You can create some amazing looks. When you are ready to dive into 100 percent motion work, know that with a little camera practice the rest comes down to your imagination.
David Wright is an award winning freelance filmmaker and photographer. Originally from the U.K., he has worked in more than 60 countries and now makes his home in the U.S.A. David shoots for clients including National Geographic, the BBC and the Discovery Channel. Throughout his career David has used Nikon photography cameras and NIKKOR lenses, to shoot everything from television productions to commercials and feature films. See more work by David at expeditioncamera.com.
More articles by this contributor